This guide will walk you through configuring your voicemail settings in order to receive voicemails as email attachments
Note: In order to follow this guide, you must either be on site at Collingwood or connected to the VPN
TABLE OF CONTENTS
- Step 1: Connect to the Telus Self Care Portal
- Step 2: Sign into the portal using your Collingwood ID
- Step 3: Configure your voicemail settings
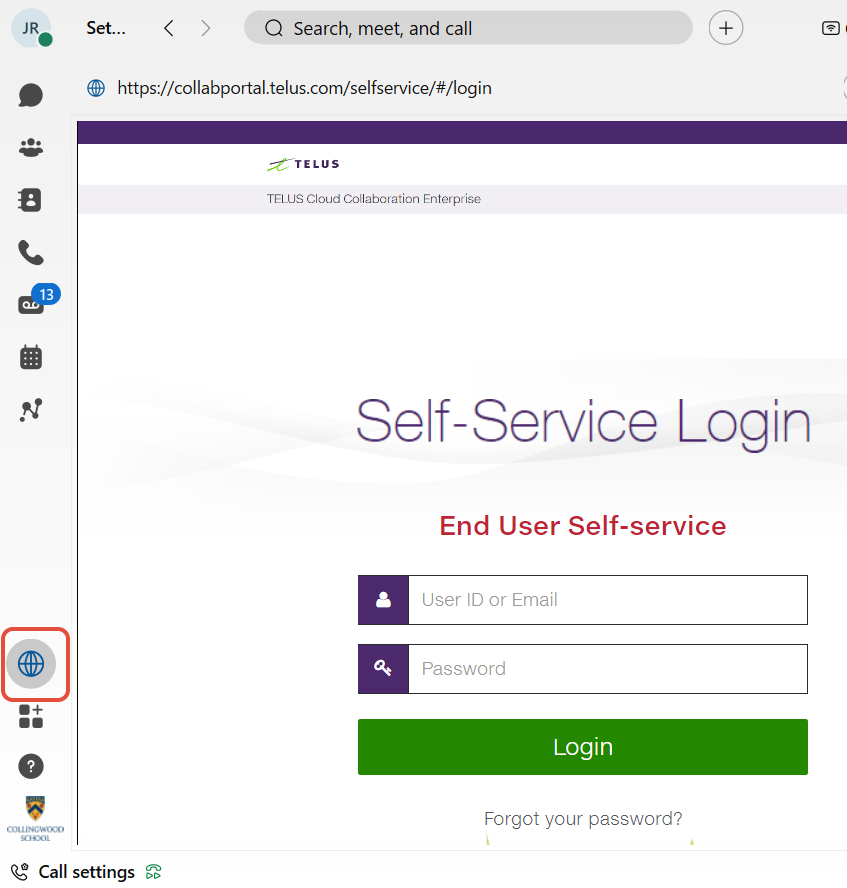
Step 1: Connect to the Telus Self Care Portal
- From the Webex application on your computer, select the Self Care Portal option
or
- Use your web browser to navigate to https://collabportal.telus.com
Step 2: Sign into the portal using your Collingwood ID
- This would be the same username and password combination you use to sign into your Collingwood issued computer
Step 3: Configure your voicemail settings
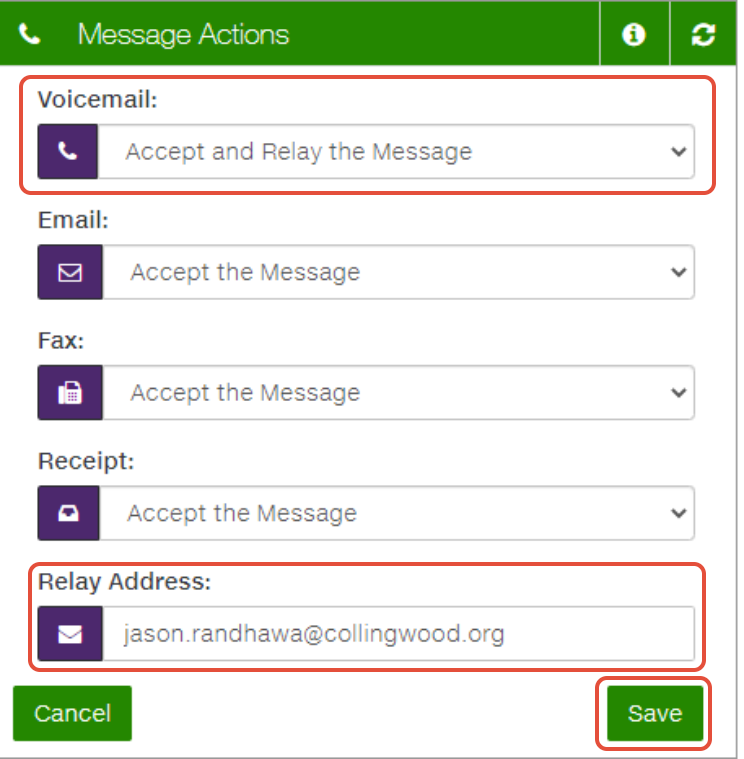
- From the Quick Menu, select the Voicemail option

- In the Message Actions section, edit the Voicemaildrop down to your preferred setting
- Reject the Message: Voicemails will not be saved
- Accept the Message: Voicemails will only be accessible via Jabber or calling into the voicemail system
- Relay the Message: Voicemails will only be accessible via email
- Accept and Relay the Message: Voicemails will be accessible via Jabber, calling into the voicemail system, and also via email
- In the Message Actions section, ensure that the Relay Address is set to your email address
- Click on the Save button
Note: If you choose the Accept the Message or Accept and Relay the Message option but only review messages via email, please ensure to delete your voicemails via Jabber or by calling into the voicemail system to keep your voicemail box from filling up. You will receive a notification email from unityconnection@collingwood.org when your mailbox is almost full.